Hosting and Serving a Keras Model
by CM
Posted on June 08, 2020
The Goal:
In this article, we will explore how to host and serve a Machine Learning model using Google App Engine. In detail, we will host a Flask application that we have developed in our last article. Using Flask, we will make use of an interactive Disney Princess Classification Model that leverages a Keras model. We have created the model in a previous article.
Key components are:
Google App Engine:
Google App Engine is a Platform as a Service and cloud computing platform for developing and hosting web applications in Google-managed data centers. Applications are sandboxed and run across multiple servers. App Engine offers automatic scaling for web applications—as the number of requests increases for an application, App Engine automatically allocates more resources for the web application to handle the additional demand.
Google Cloud Storage:
Google Cloud Storage is a RESTful online file storage web service for storing and accessing data on Google Cloud Platform infrastructure. The service combines the performance and scalability of Google's cloud with advanced security and sharing capabilities. It is an Infrastructure as a Service (IaaS), comparable to Amazon S3 online storage service. Contrary to Google Drive and according to different service specifications, Google Cloud Storage appears to be more suitable for enterprises.
TensorFlow:
TensorFlow is a free and open-source software library for dataflow and differentiable programming across a range of tasks. It is a symbolic math library, and is also used for machine learning applications such as neural networks.
Keras:
Keras is an open-source neural-network library written in Python. It is capable of running on top of TensorFlow, Microsoft Cognitive Toolkit, R, Theano, or PlaidML. Designed to enable fast experimentation with deep neural networks, it focuses on being user-friendly, modular, and extensible.
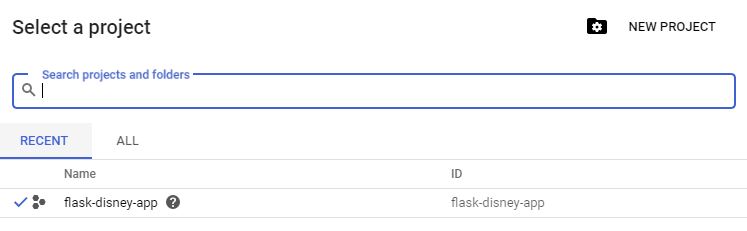
Let's jump right into the infrastructure. First things first, as we are planning to use Google App Engine as our Platform as a service, we need to create a Google Cloud project first. For the purpose of this tutorial, I have created one from scratch calling it flask-disney-app.
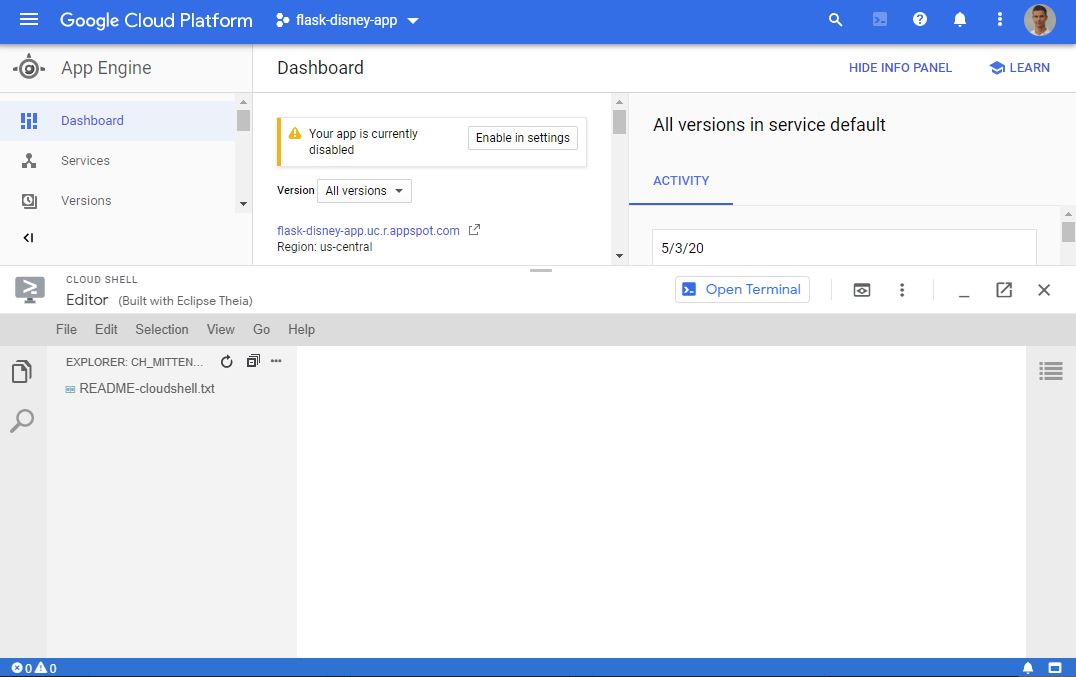
Now go to Navigation Bar and select Google App Engine Dashboard which is located in the 'Compute Section' and work yourself through the 'get started guide' of App Engine. Once done, activate Cloud Shell to enter the Terminal. Alternatively, you can later use either Cloud Shell or the Cloud SDK to deploy your application.
Using Cloud shell, you have the possibility to switch between the 'Terminal' and the 'Editor'. Integrated in the Editor you will have a file explorer that allows you to easily upload and edit files in Google App Engine. In summary, Cloud Shell is a tool for managing resources hosted on Google Cloud Platform. The machine comes pre-installed with the Google Cloud SDK and other popular developer tools. It further offers a 5GB home directory that does persist across sessions, although the VM is ephemeral and will be reset approximately 20 minutes after your session ends.
Google App Engine pretty much requires you to have five files to successfully deploy your app:
- app.yaml (here live your App Engine configuration)
- requirements.txt (here live all dependencies)
- main.py (here lives your python application)
- web-interface.html (here lives your web interface)
- A folder with CSS / Pictures / other static files (here are all static files stored)
Let's have a closer look on all files. We will start of with the App Engine configuration file (app.yaml). You configure your App Engine app's settings in the app.yaml file. This file specifies how URL paths correspond to request handlers and static files. The app.yaml file also contains information about your app's code, such as the runtime and the latest version identifier. Each service in your app has its own app.yaml file, which acts as a descriptor for its deployment. You must first create the app.yaml file for the default service before you can create and deploy app.yaml files for additional services within your app.
Note for our application, we will be using a Python 3 runtime and Google App Engine Standard Environment with the highest instance class (which might be overkill for most projects). As we are planning to read our model from memory, we need to make sure that our instance has a sufficient amount of memory capacity. In this regard, for demonstration purposes, I went with the biggest machine on Google App Engine. In case your application runs long-term, make sure to choose the machine that serves your needs best, as well as is most cost efficient.
###File: app.yaml
runtime: python37
env: standard
instance_class: F4_HIGHMEM

entrypoint: gunicorn -b :$PORT main:app

env_variables:
BUCKET_NAME: "data_flask"
MODEL_FILENAME: "disney_model.h5"
handlers:
- url: /images
static_dir: templates/images

- url: /.*
script: auto
Let's have a look at the requirements respectively dependencies of our application. As demonstrated in the previous article, we saved our requirements in a .txt file via pip freeze. Remember "pip freeze > requirements.txt" records an environment's current package list into requirements.txt.
Our dependencies list will have all the libraries that are immediately necessary to run our application, such as: (1) TensorFlow, (2) Keras, (3)Google Cloud Storage, (4) Requests, (5) Flask and so on...
Flask==1.1.2
Keras==2.3.1
tensorflow==2.0.0b0
absl-py==0.9.0
asgiref==3.2.7
astunparse==1.6.3
cachetools==4.1.0
certifi==2020.4.5.1
chardet==3.0.4
click==7.1.2
cloudstorage==0.10.1
Django==3.0.6
Flask==1.1.2
gast==0.3.3
google-api-core==1.17.0
google-auth==1.14.2
google-auth-oauthlib==0.4.1
google-cloud==0.34.0
google-cloud-core==1.3.0
google-cloud-storage==1.28.1
google-pasta==0.2.0
google-resumable-media==0.5.0
googleapis-common-protos==1.51.0
h5py==2.10.0
idna==2.9
image==1.5.31
itsdangerous==1.1.0
Jinja2==2.11.2
Keras-Applications==1.0.8
Keras-Preprocessing==1.1.0
Markdown==3.2.1
MarkupSafe==1.1.1
numpy==1.18.4
oauthlib==3.1.0
opt-einsum==3.2.1
Pillow==7.1.2
protobuf==3.11.3
pyasn1==0.4.8
pyasn1-modules==0.2.8
pytz==2020.1
PyYAML==5.3.1
requests==2.23.0
requests-oauthlib==1.3.0
rsa==4.0
scipy==1.4.1
six==1.14.0
sqlparse==0.3.1
tensorflow-estimator==2.2.0
termcolor==1.1.0
urllib3==1.25.9
Werkzeug==1.0.1
wrapt==1.12.1
gunicorn==19.7.1
google-cloud==0.34.0
joblib==0.14.1
inflection==0.4.0
cloudstorage==0.10.1
python-dateutil==2.8.1
python-magic==0.4.18
grpcio==1.27.2
Recap, the respective requirements are for our main.py file. The application is a Convolutional neural network that we have built in a previous article. The model is stored in a Google Cloud bucket. We will load the model into our python application and use it for prediction. For completeness - here are both articles where we have built our Convolutional neutral network and the Flask application. In addition, we have also built a web-interface for our application. For completeness - here is the full article where we have built the web interface.
Lastly, we need to upload our static files to the static files folder on Google App Engine which we called 'templates'. This folder holds all our images. Here you usually store your .css files as well.
In addition, as we are reading our model.h5 file from a Cloud Storage Bucket in our application, make sure to upload it to Google Cloud - I have written a brief guide on how to do this here. Within the Console you can browse your specific bucket and make sure the model file is available.

When app files are ready and uploaded on Google App Engine, we can deploy our application. Note that you can select or change your cloud project using gcloud config set project [name_of_your_project]. In order to deploy your application just type: gcloud app deploy.

We then can use gcloud app browse to get the URL of our application. Generally, your URL looks something like this: https://PROJECT_ID.REGION_ID.r.appspot.com where PROJECT_ID is the ID of the Google Cloud project that contains the app. This URL sends requests to the version of your app that you have configured to receive traffic. You further can set up a custom top-level domain using G Suite and then assign subdomains to various apps, such as Google Mail or Sites. You can also associate an App Engine app with a subdomain. For more information about mapping a custom domain to your app, see Securing Custom Domains with SSL on cloud.google.com.
And we are live!

Yes, we did it! Google App Engine for Flask Applications!